I've been wanting to try gelatin printing for some time now.
Here is how it happens....

You need some gelatin, I bought this at the local supermarket.
Put 1 cup of water into a saucepan, add 2 level tablespoons of gelatin powder, and stir until the mixture is boiling.

The mixture starts to clarify when the gelatin is totally dissolved. Take off the heat.
While it's cooling a little, line a small plastic container with some cling wrap. Then pour the gelatin mixture into your mold.
Pour in enough liquid to at least 2cm.

I made up a number of these small plates and put them into the fridge for at least 12 hours.

This is the lovely surface of a set plate.
Unmolding was easy with the cling wrap technique.
It's recommended that you use water base etching inks, but you could also use acrylic paint with a bit of retarder in it to. Just experimenting with what you have is a good way to see what results can be achieved.

I rolled some ink onto the surface of this plate.
Note: I used the wrinkly under-side of this plate for the first print. It had lovely texture as you can see below.

And here is the first print.
I let this dry before over printing.
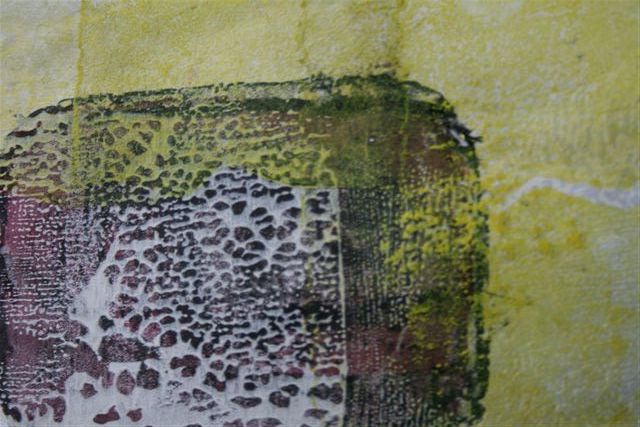
I over printed twice to get this final print below.

I used a thin rice paper, but experimented with heavier pulp papers too.
I dampened some papers and left others dry.
I used bits of texture to get negative and positive prints.


Above are some examples of what developed.
Overall, it's an fun, easy and relatively safe technique.
The plates wipe well with water, and if you wrap them in cling wrap, you can save them in your fridge for a few weeks and keep re-using them. There is loads of info on "google" if you want to know more about it.
Have a look at...
Printing Without A Press With Linda Germain


